Roofing Installation Steps
At Apex Toiture, everything is laid out on the table for you. From the inspection to the completion of your roofing job, you will be informed in a timely and detailed manner. Our team is committed to serving you with transparency and professionalism to ensure that your satisfaction is second to none!
We make sure to follow all the installation steps down to the smallest details. We explain the 9 steps below to give you a better idea of how your roof installation goes. For service that meets current best practices, trust professional roofers like us.
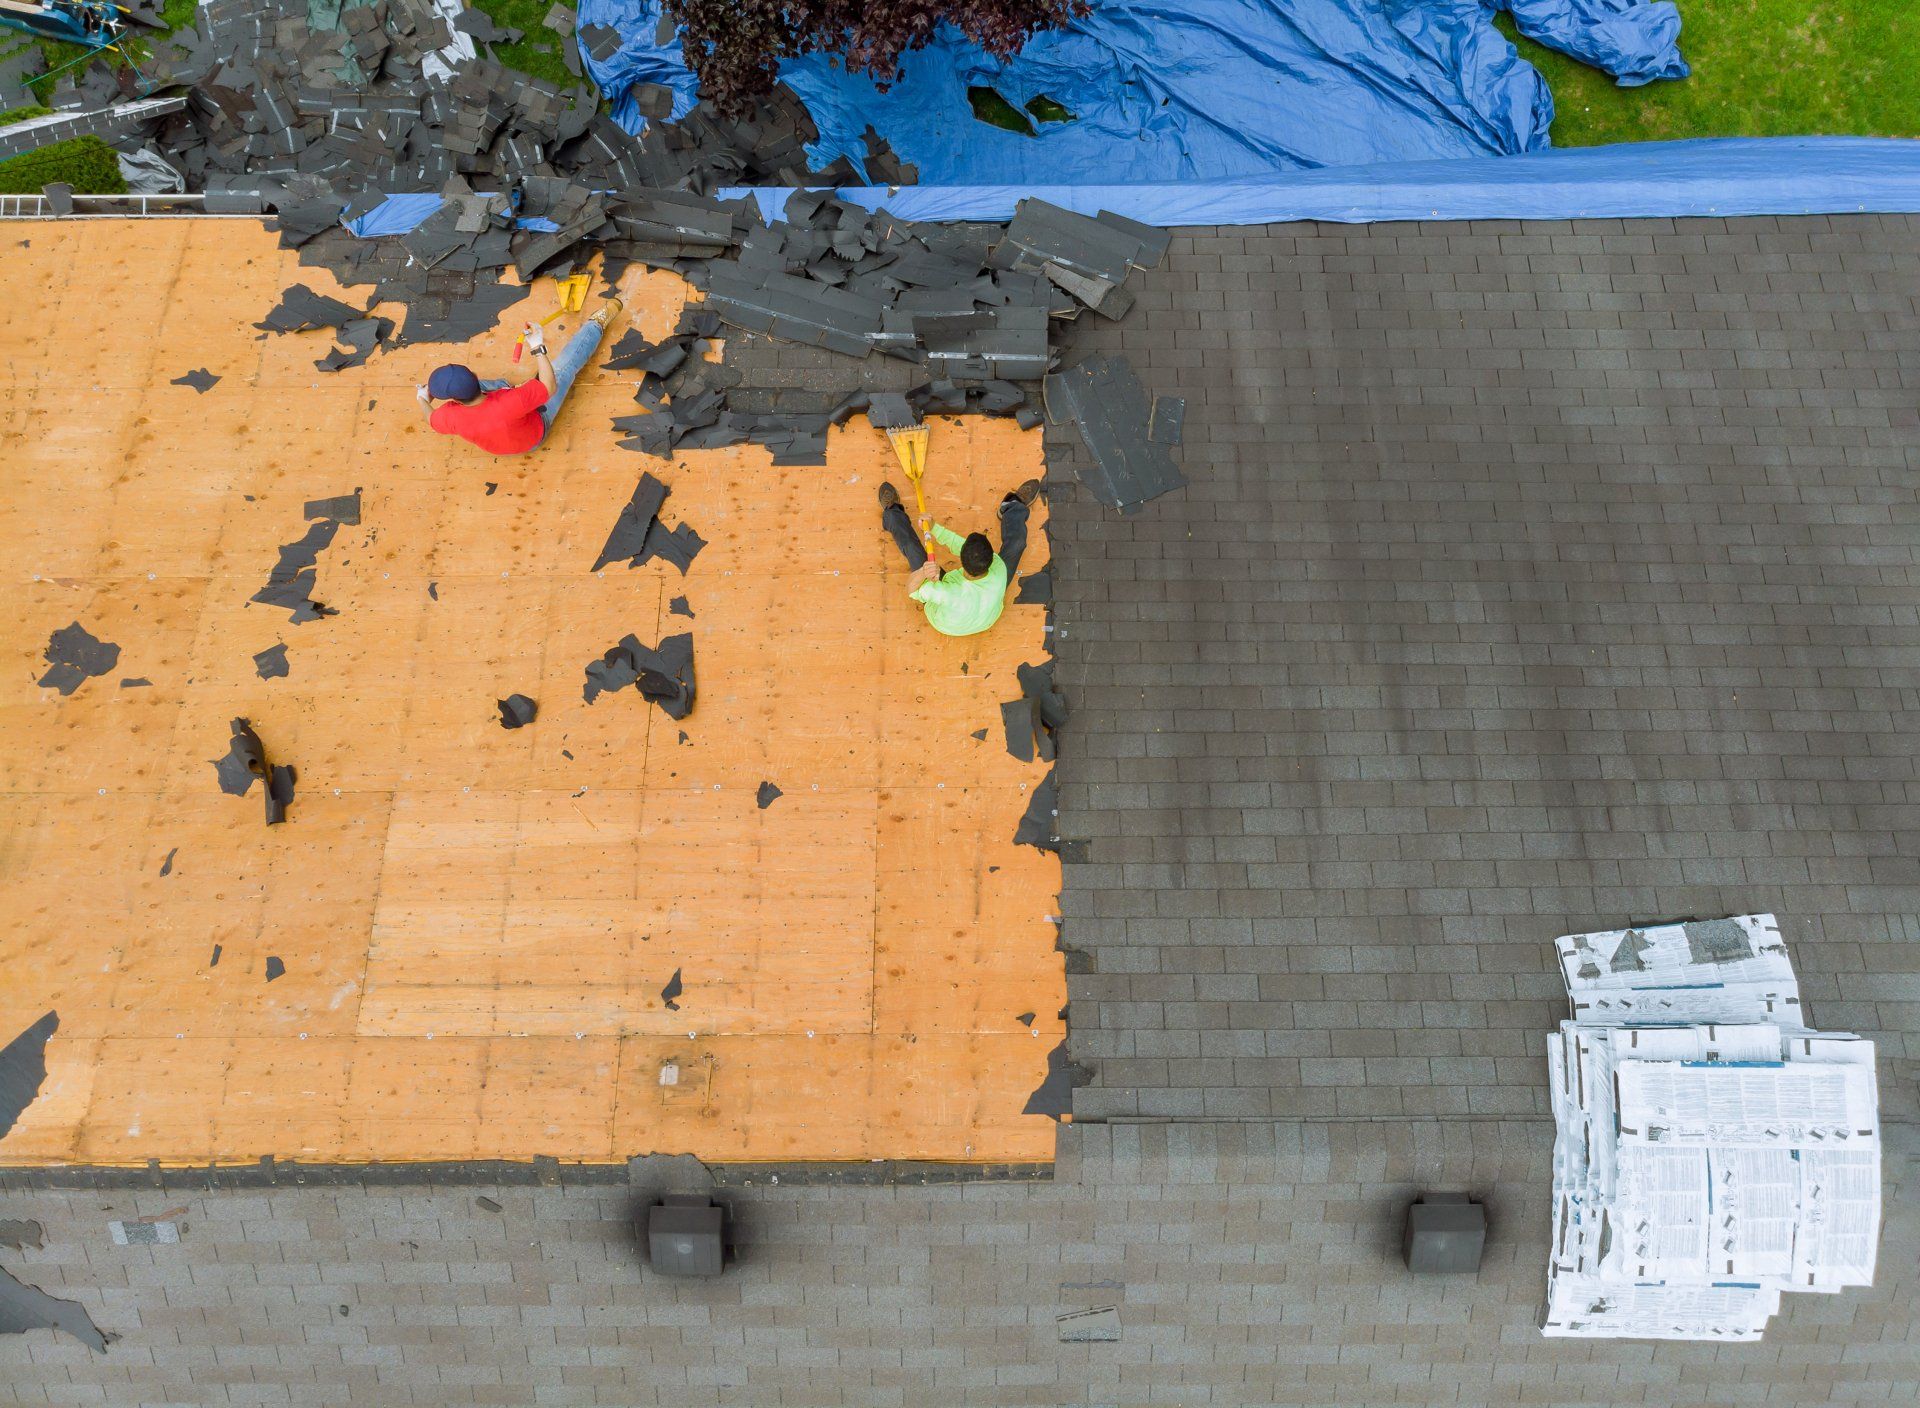
1. Dismantling of the Old Roof
This is an important step in ensuring the durability of your roof. All roofing companies are encouraged to remove the old roof before replacing it. It is impossible to ensure the quality of the work without removing the old shingles.
During this step, we ensure a complete and thorough disassembly - removing the old shingles, making sure there are no nails sticking out of the structure and that the decking is sound.
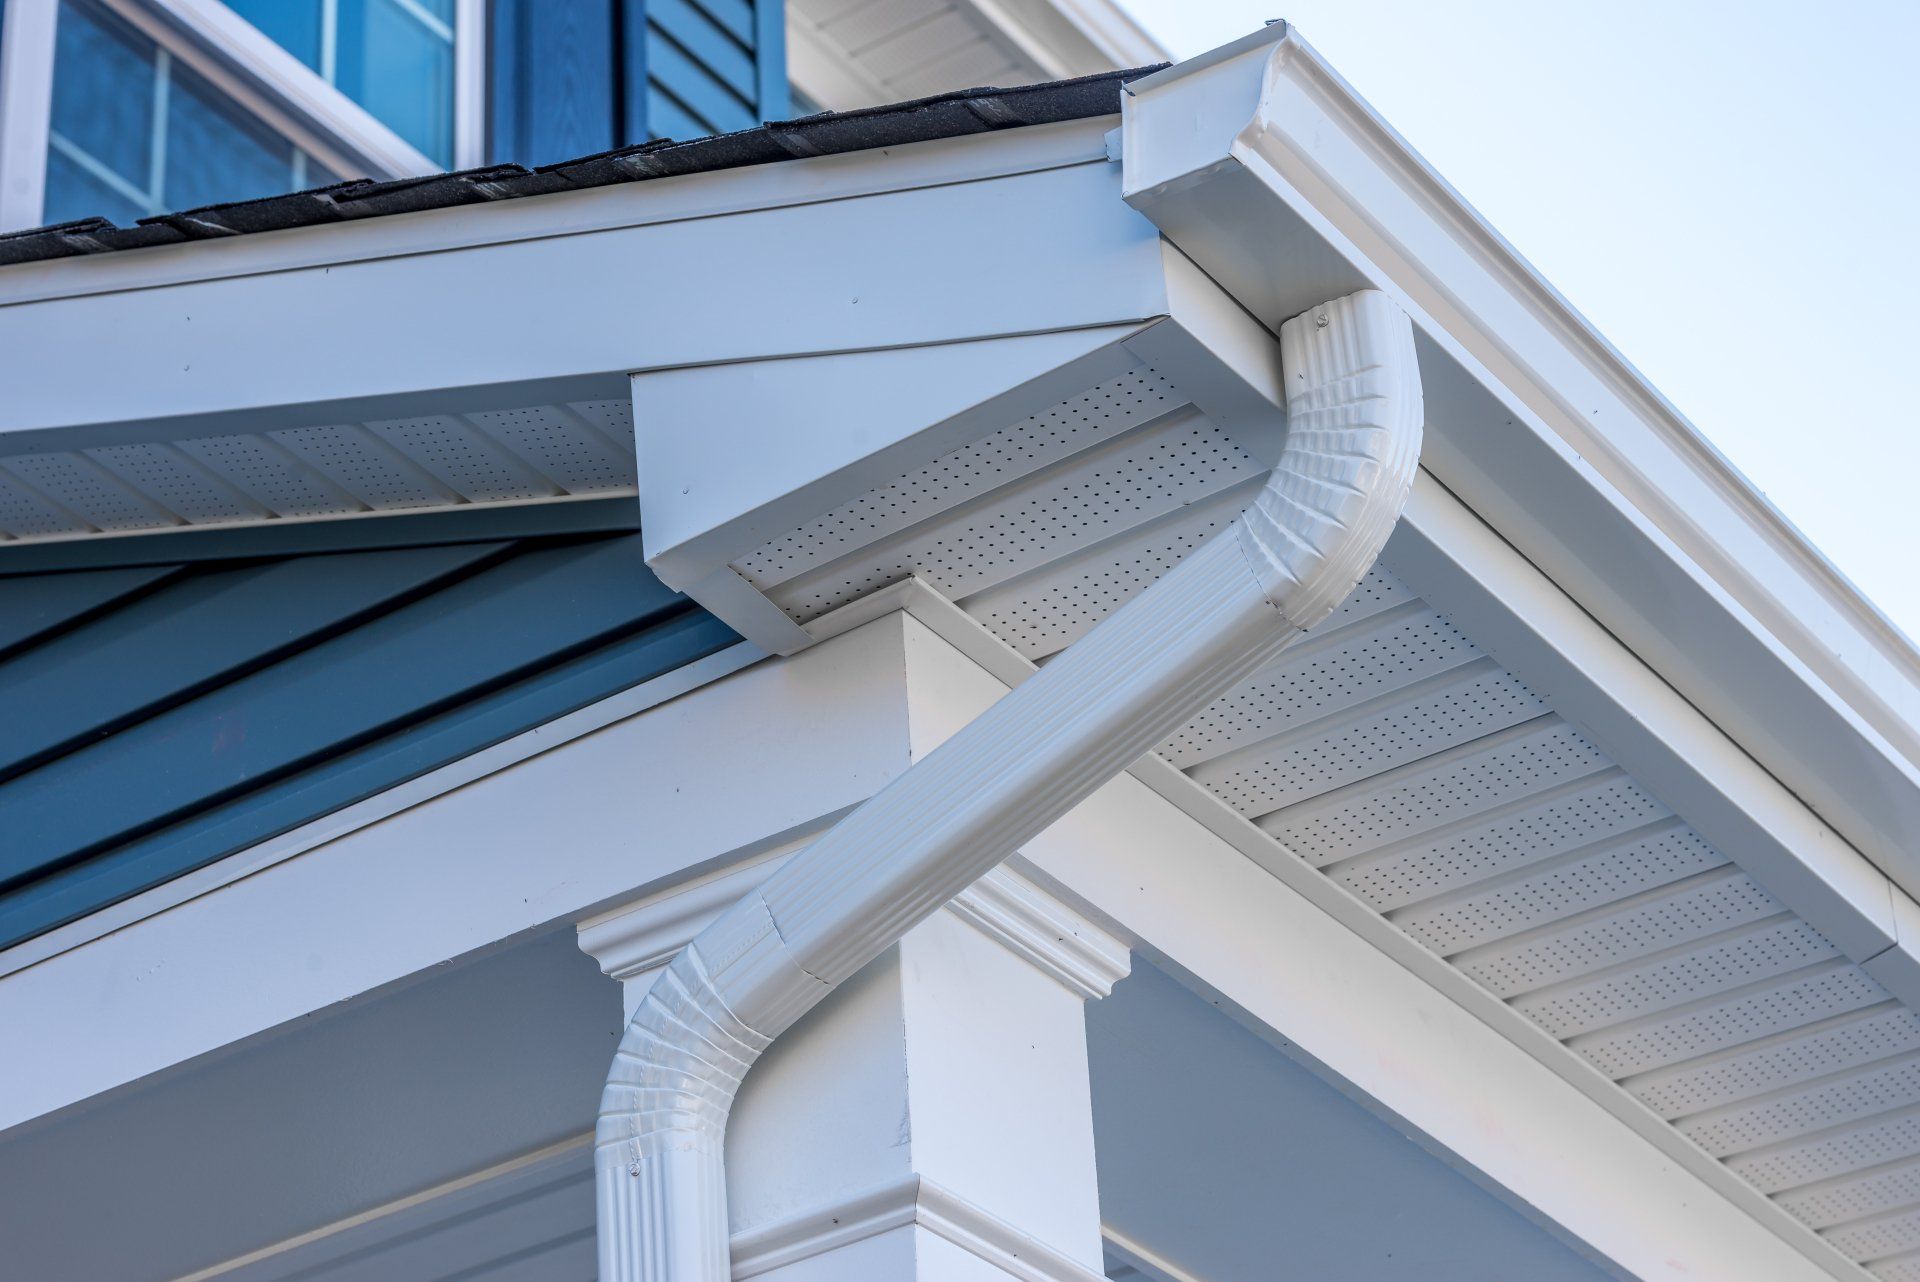
2. Installing the Drip Cap
For protection against water runoff between your fascia and your gutter, installing a drip cap is the ideal solution. Although this step is not required, it adds a lasting quality to your home.
3. Self-Adhesive Membrane Application
The self-adhesive membrane protects you from water that can infiltrate due to ice dams and strong winds. This adhesive material can be applied to all flat and straight platforms. It usually sticks by itself in warm weather, but may also require nails to ensure a perfect bond.
4. Roof Waterproofing
A synthetic paper is applied on the entire surface of the roof to increase its level of fire resistance and to prevent water infiltration under the shingles. The synthetic paper is attached to the surface with staples. To ensure optimal coverage, all sections must be overlapped.
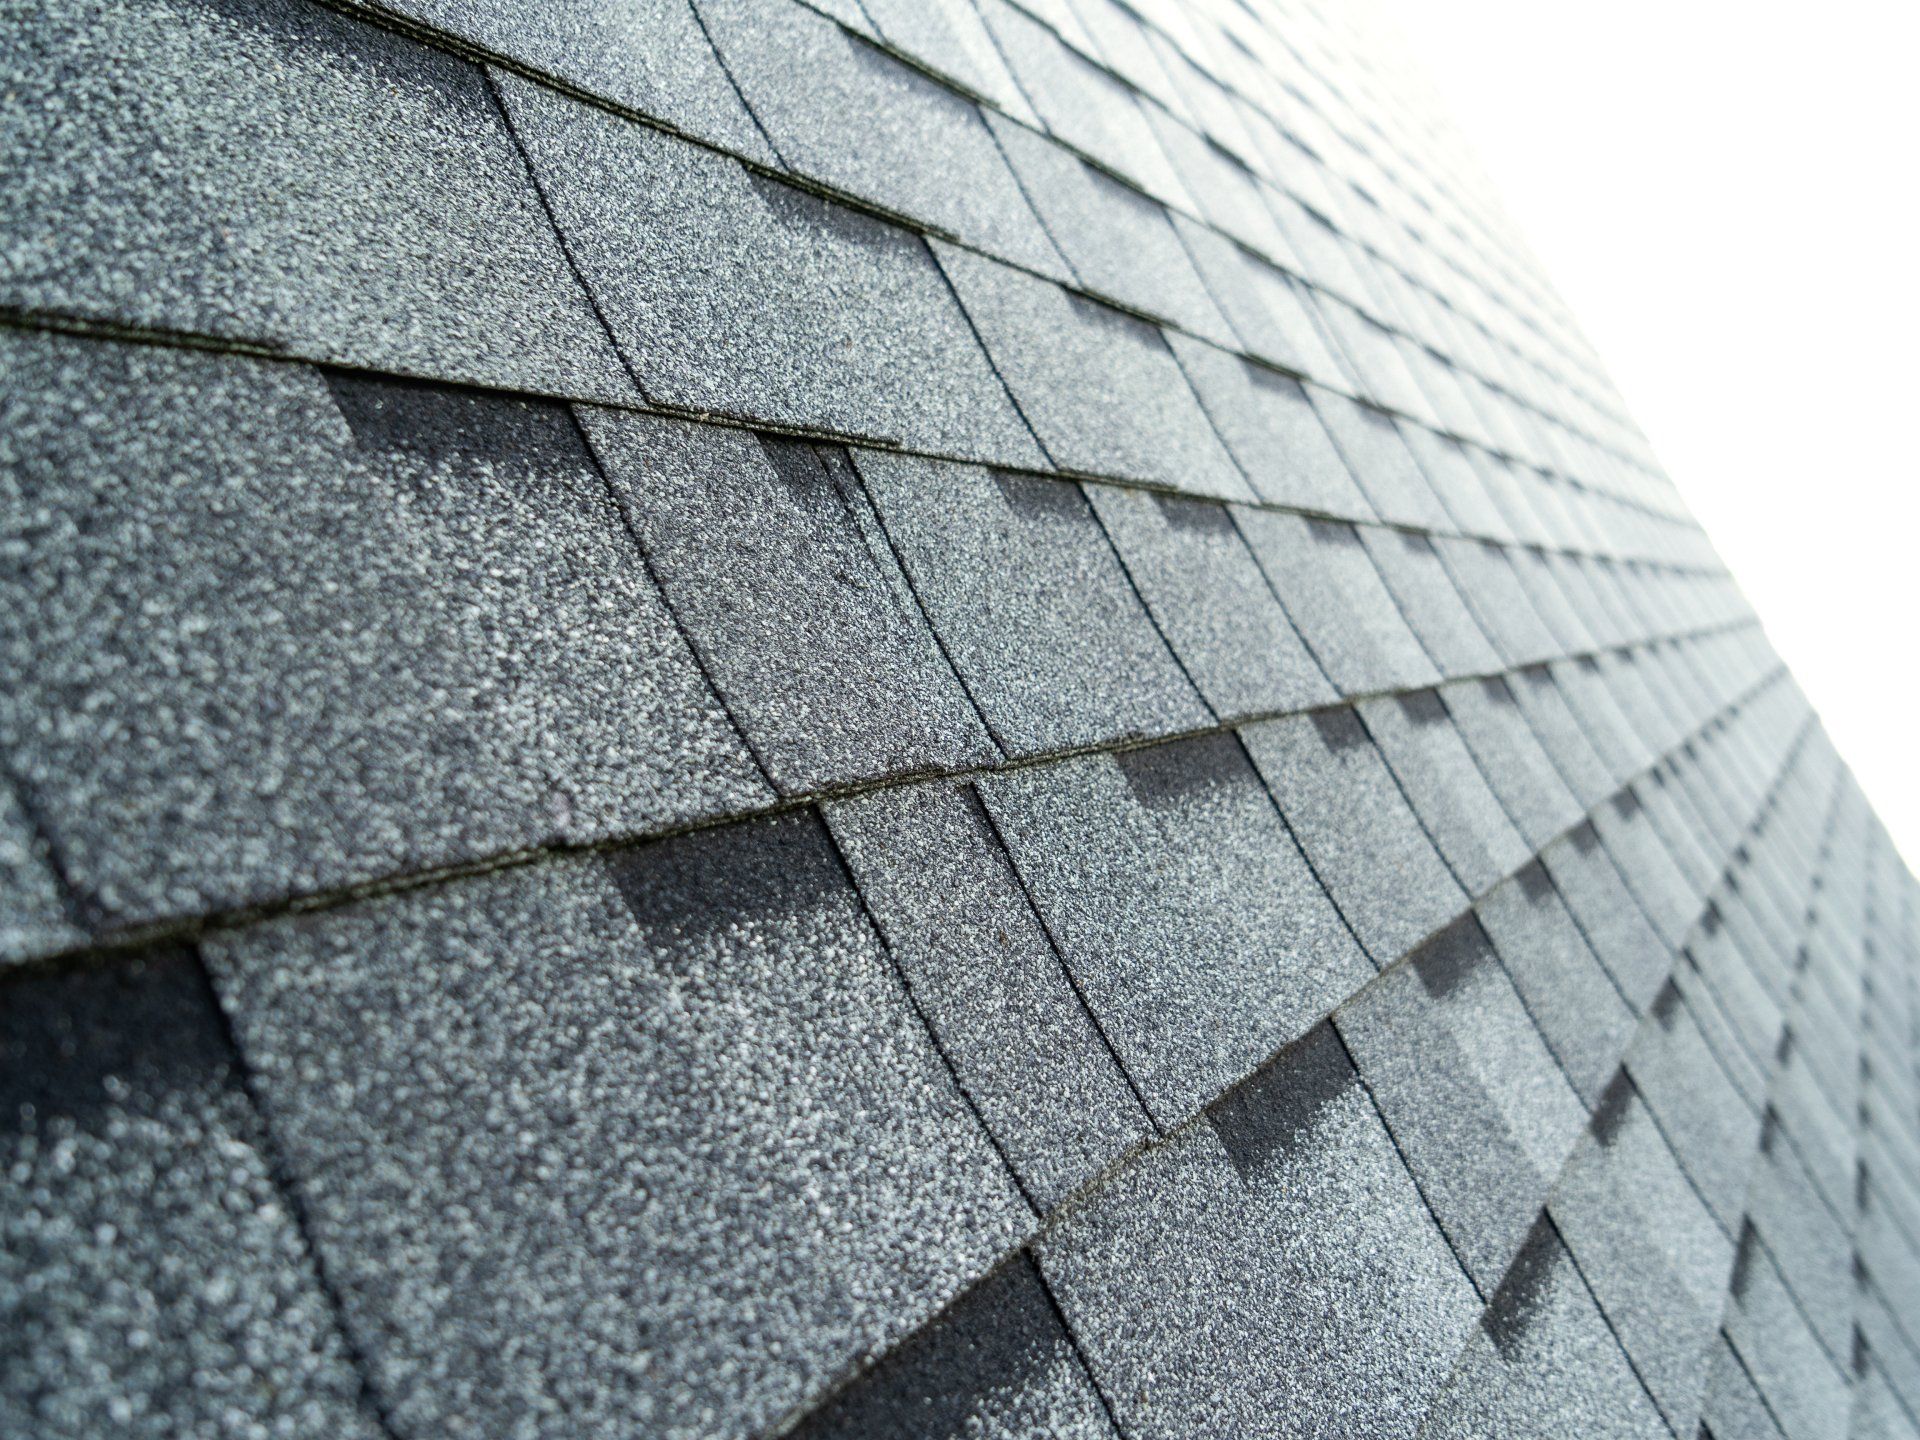
5. Installing the Starter Shingles
Starter shingles are installed flat on the surface before the regular shingles are installed on top of each other. This helps prevent water infiltration, which can lead to a roof leak.
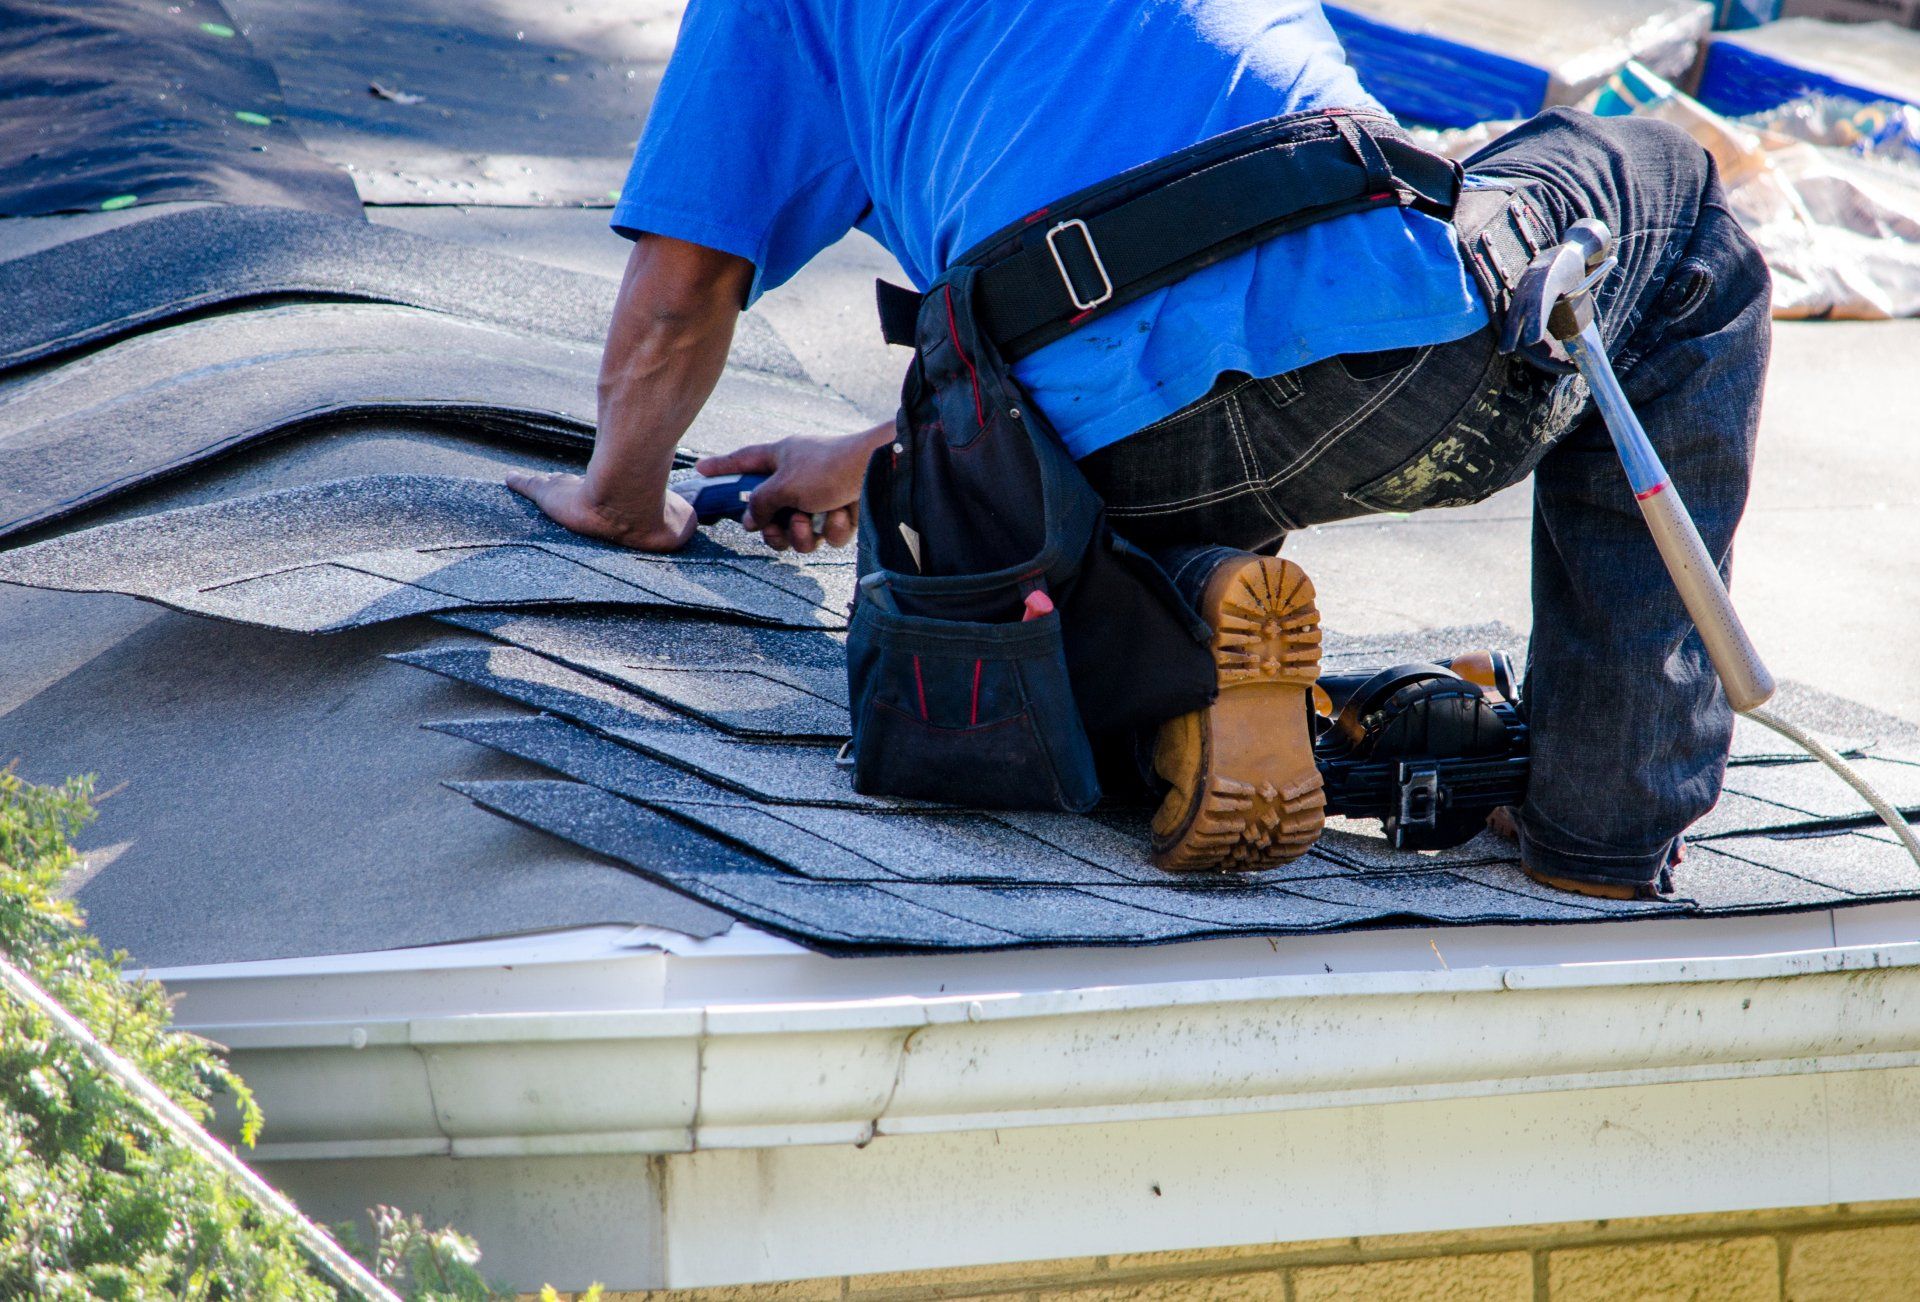
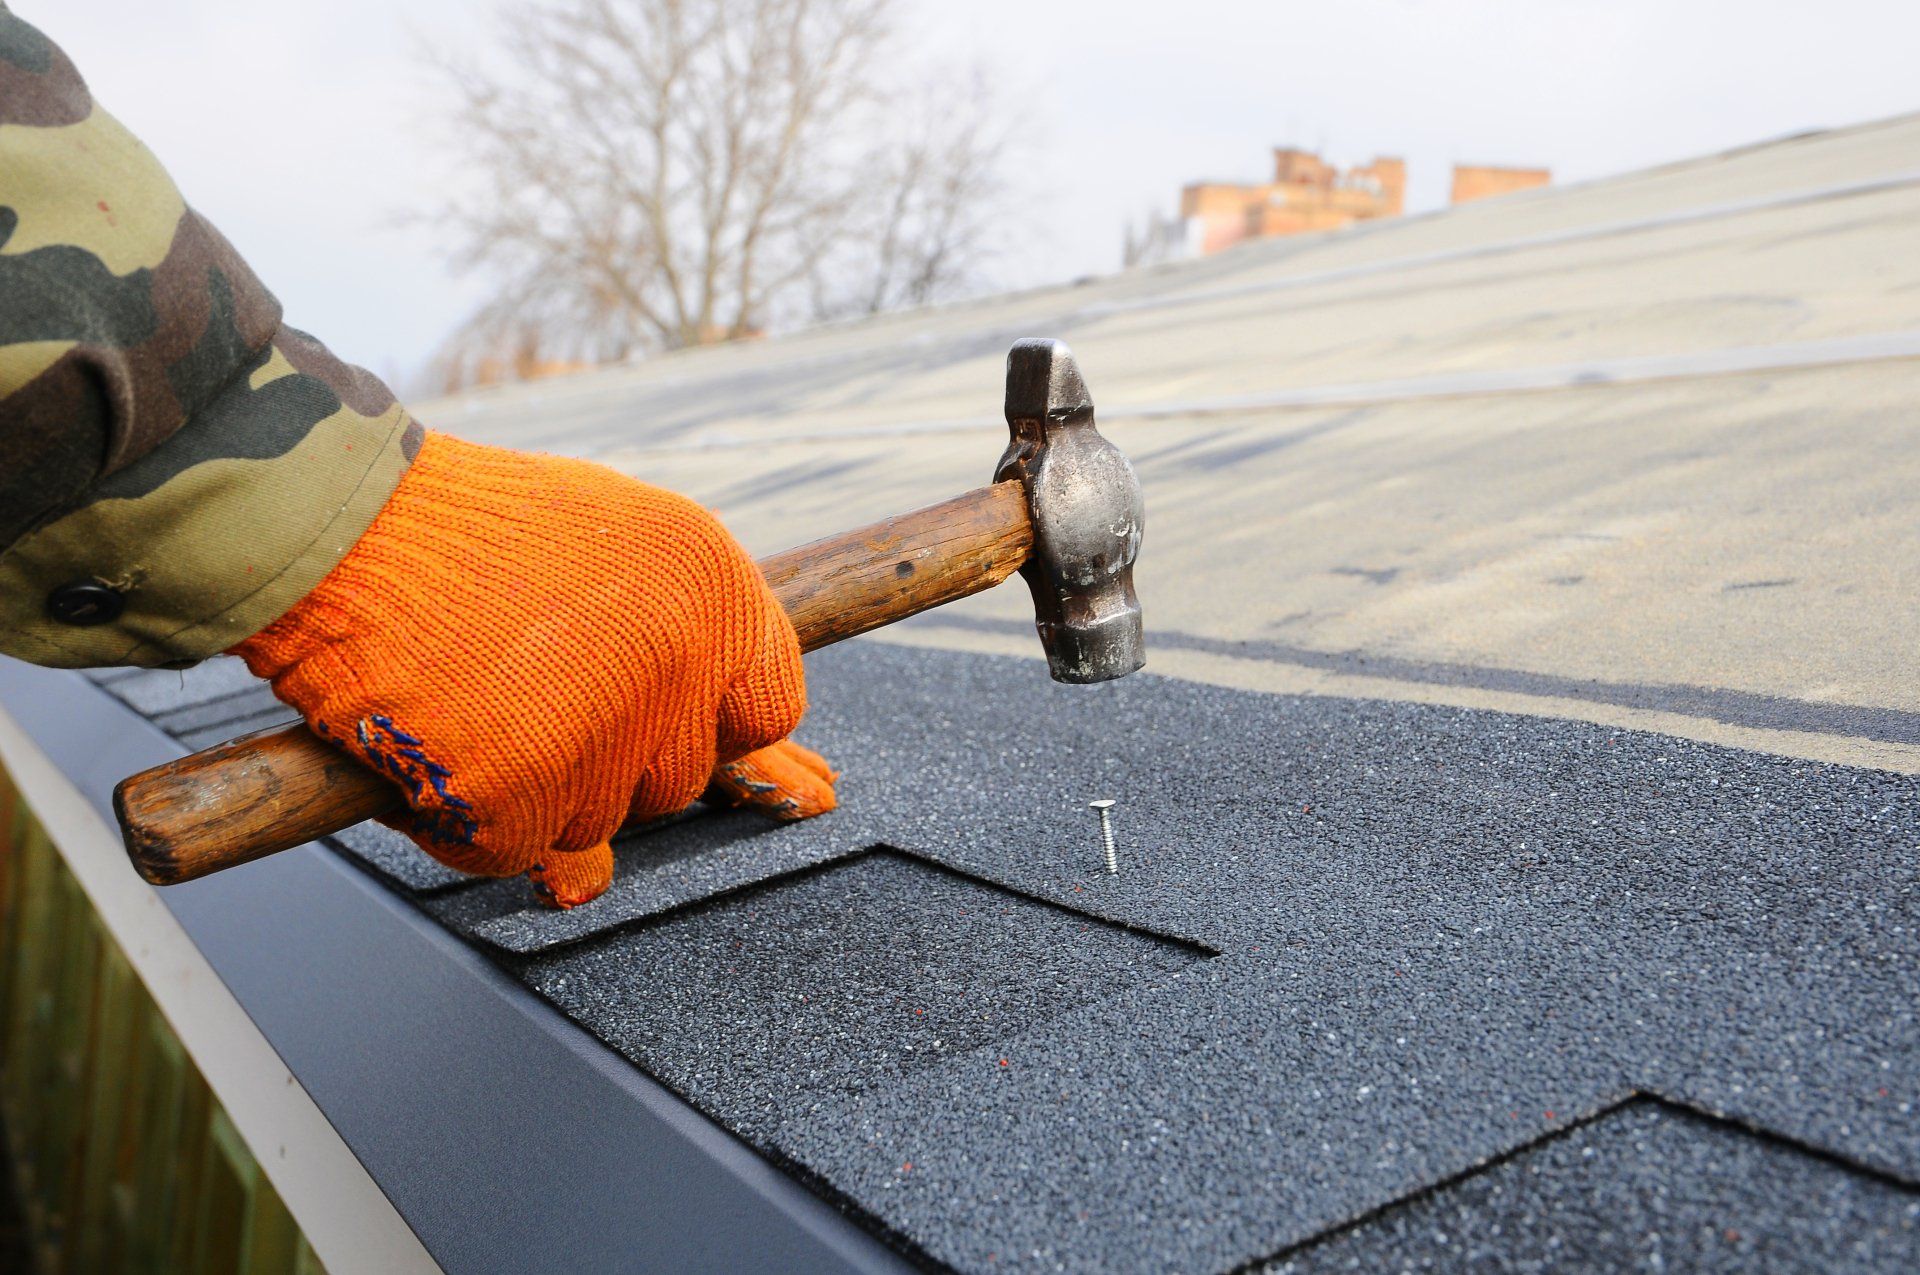
6. Shingles Installation
A simple but tedious process! The shingles are fastened with a nail gun and in an overlapping manner.
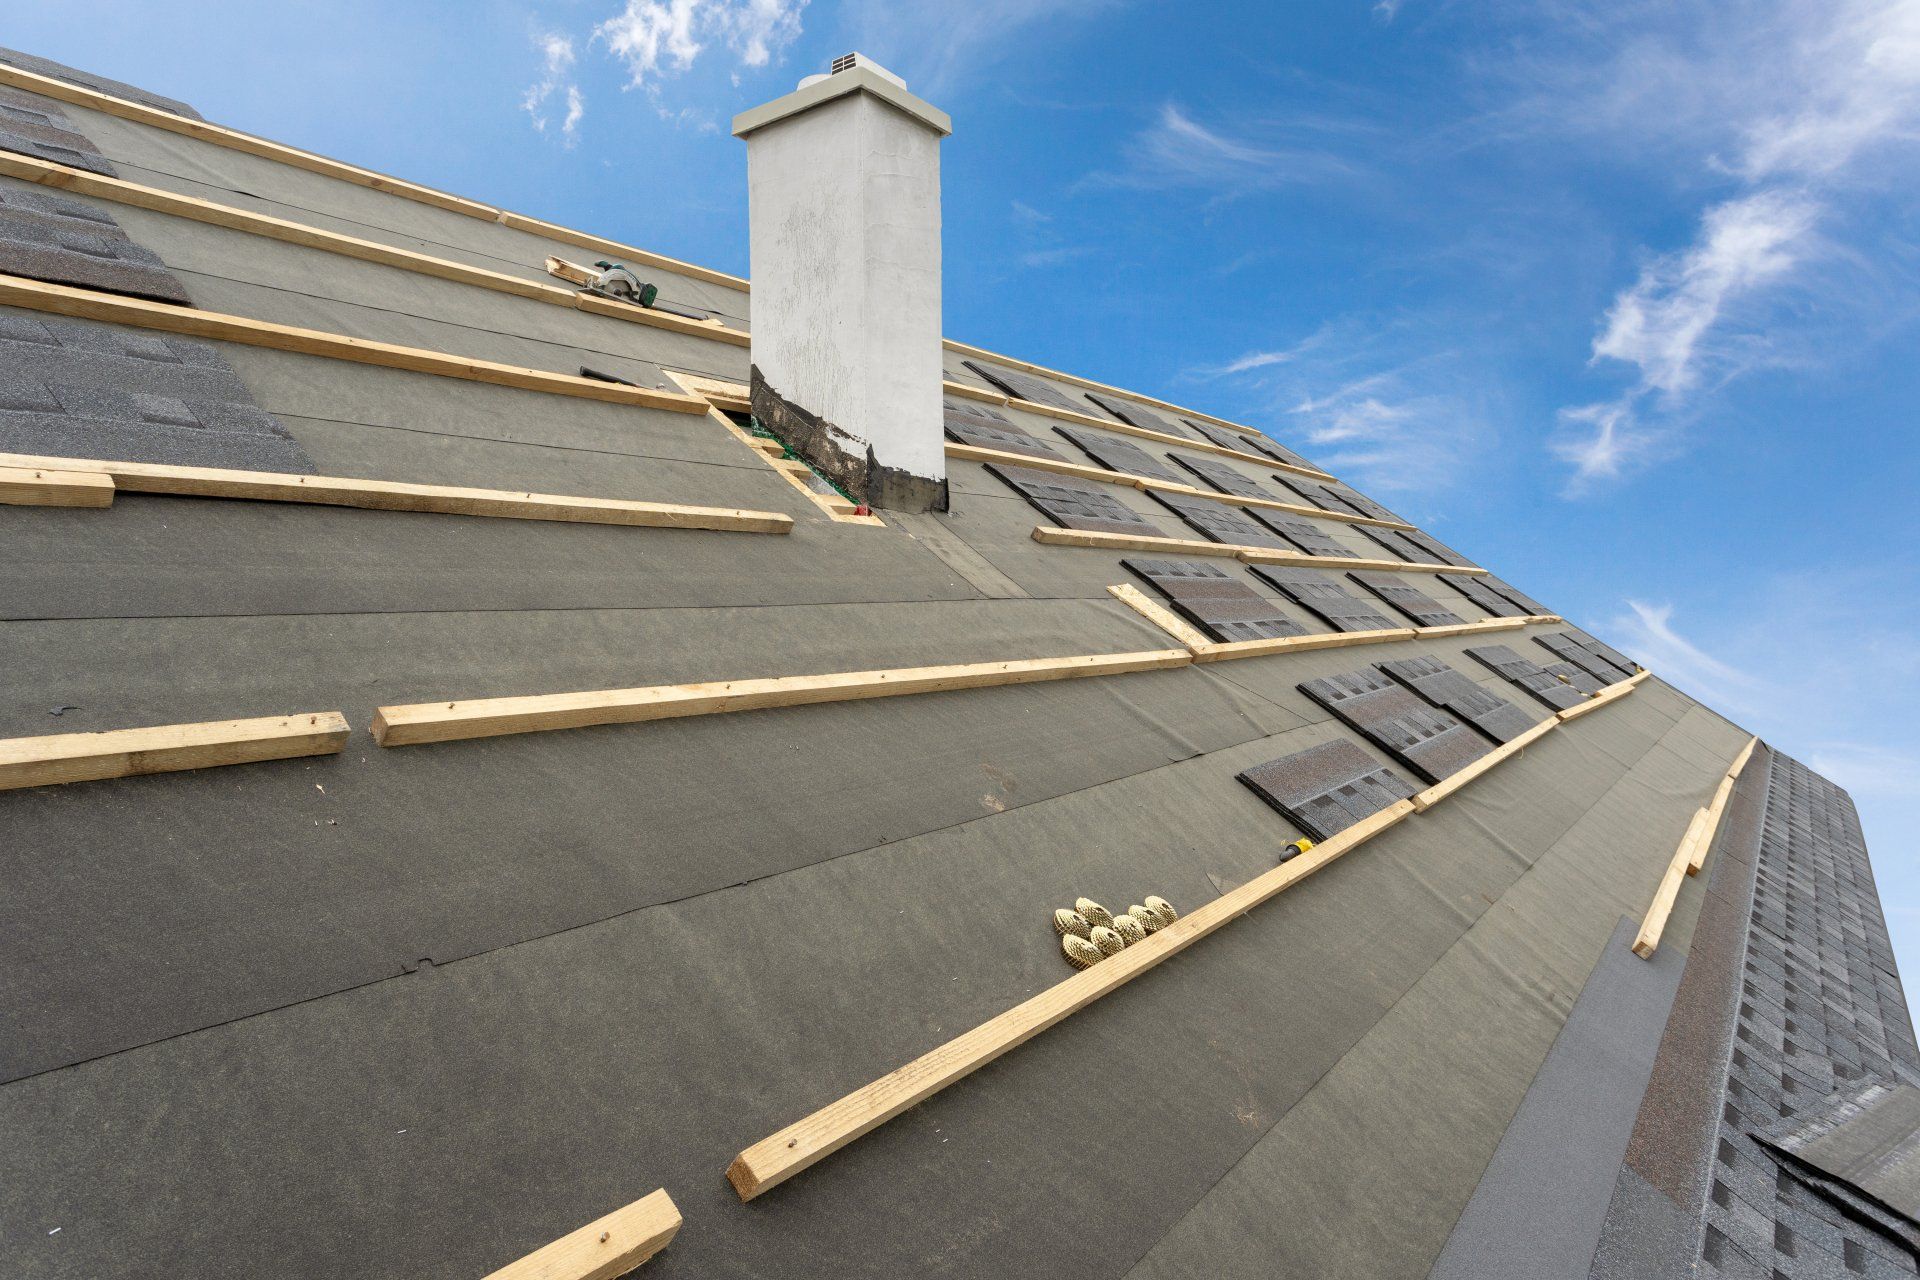
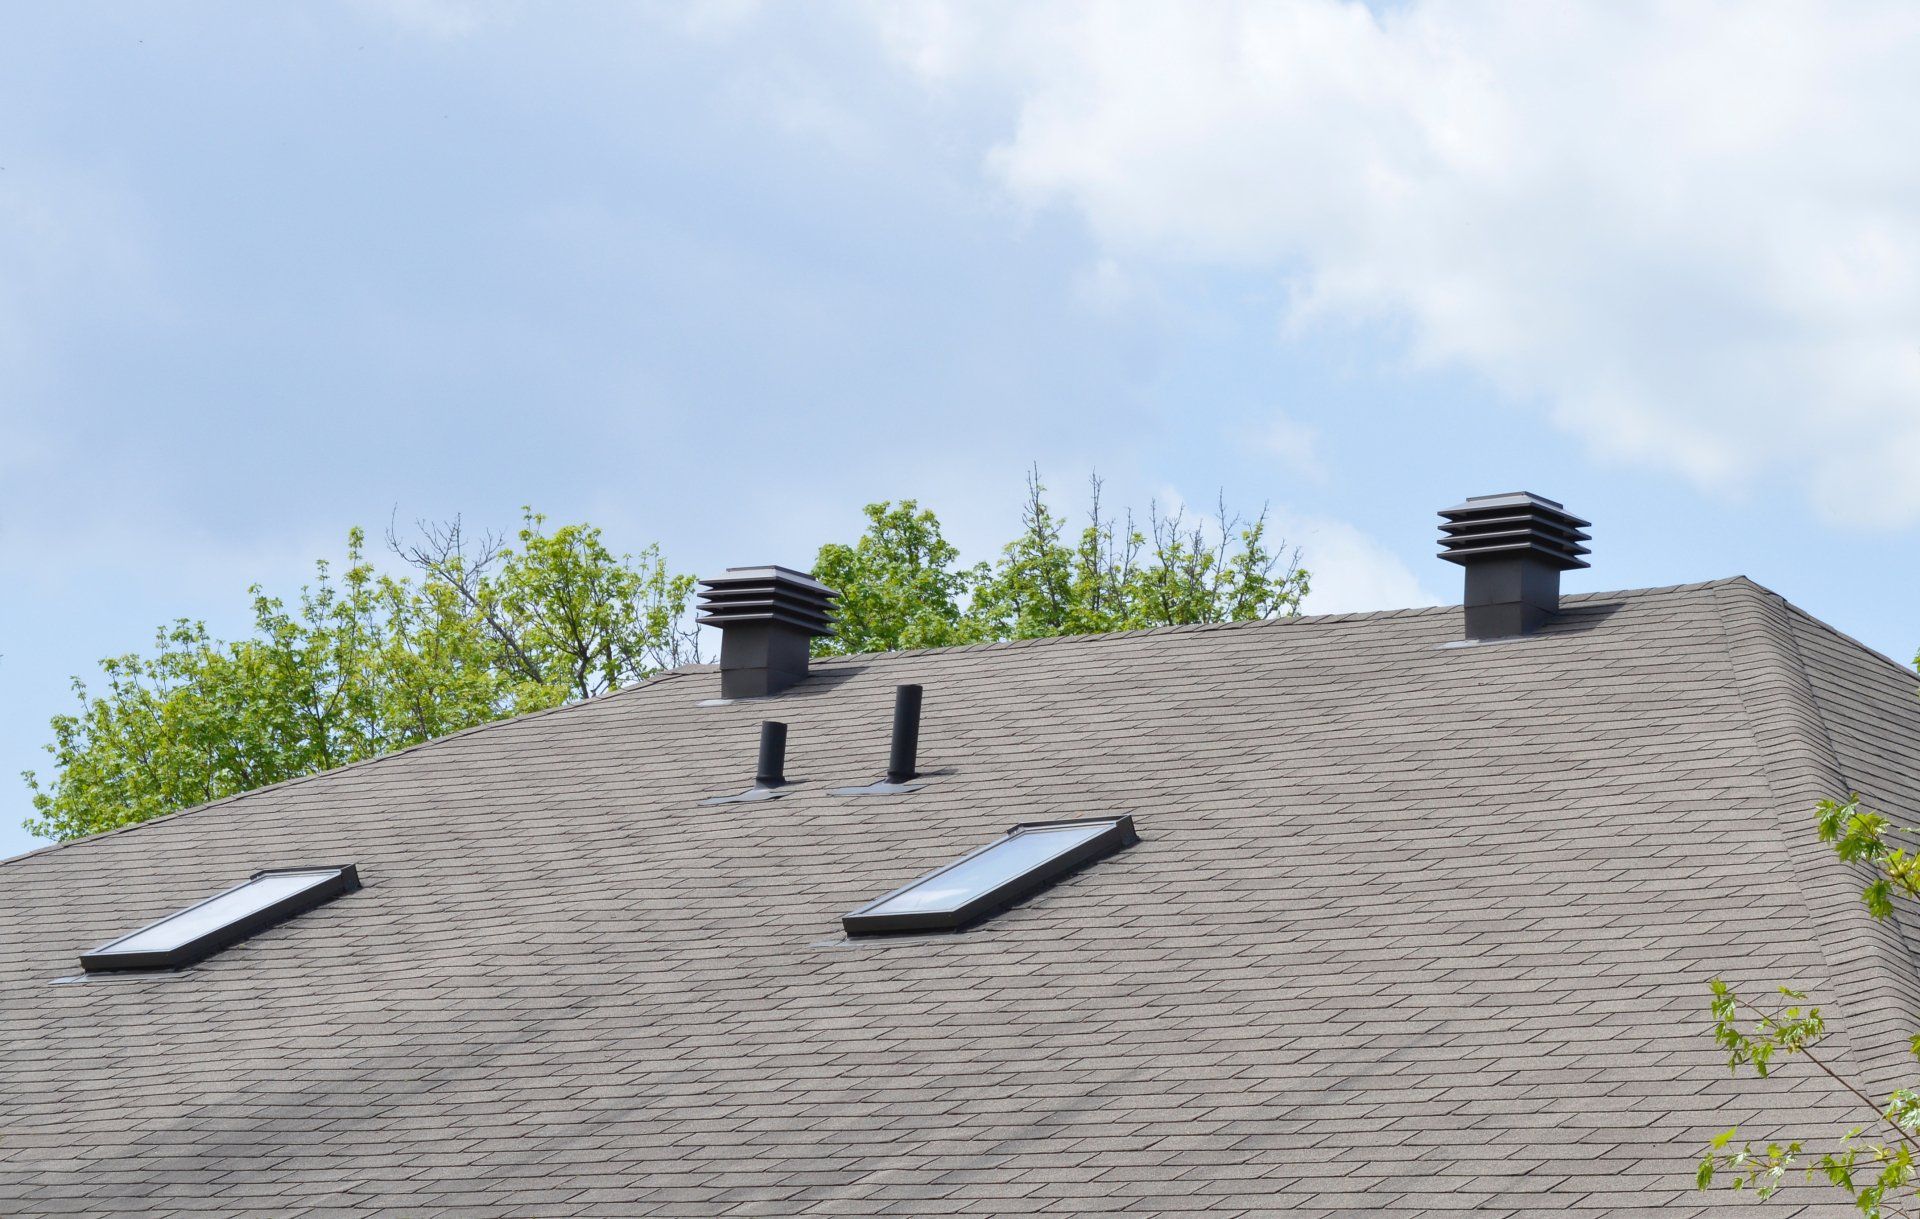
7. Flashing Installation
Flashings are installed around chimneys, wall edges and skylights to ensure a better seal.
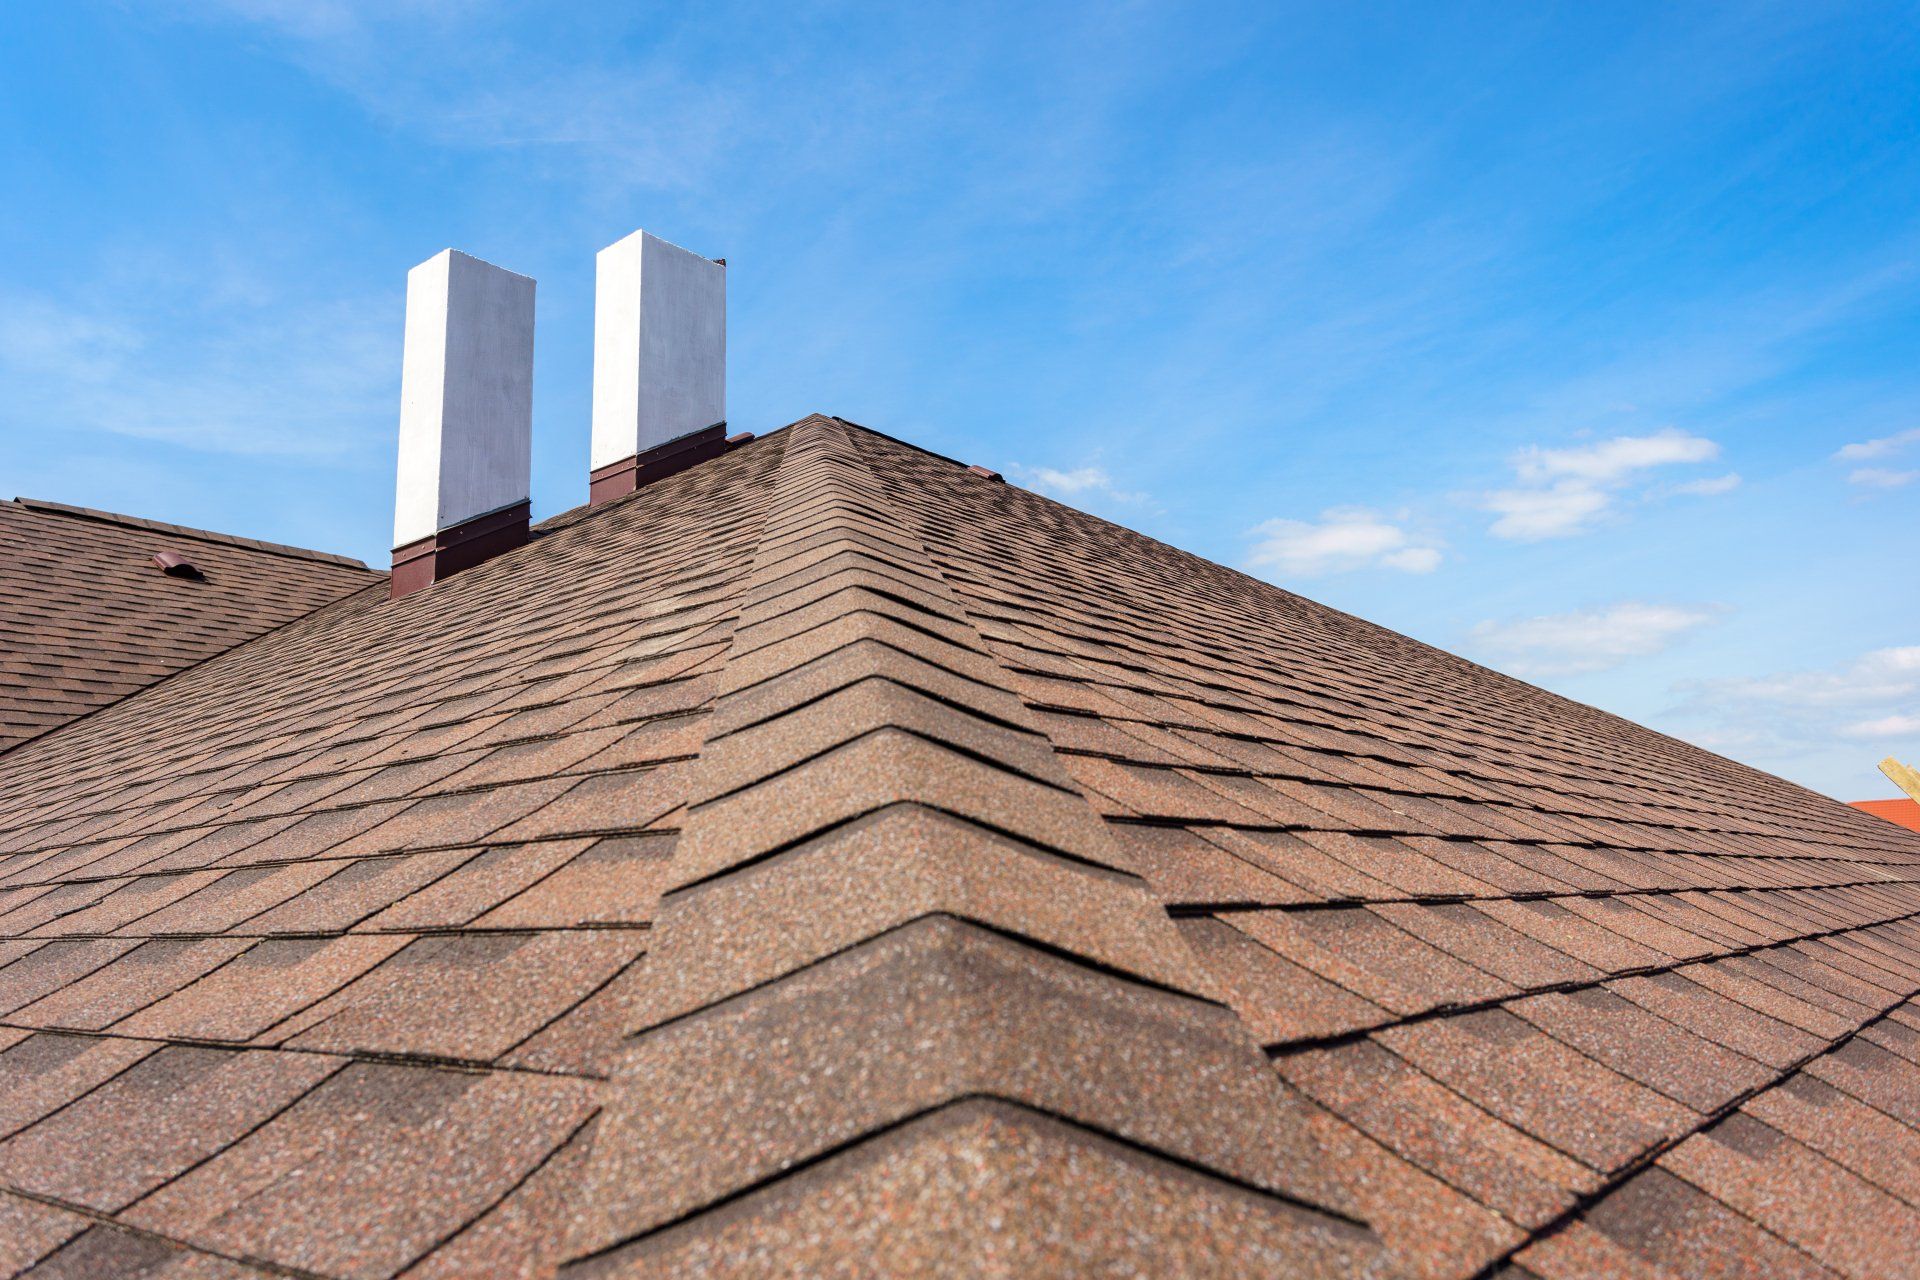
8. Capping the Ridge
Ridge shingles are the ones that sit at the top of your pitched roof and are designed specifically for this function. They are also used to make the junction between the slopes of the roof.
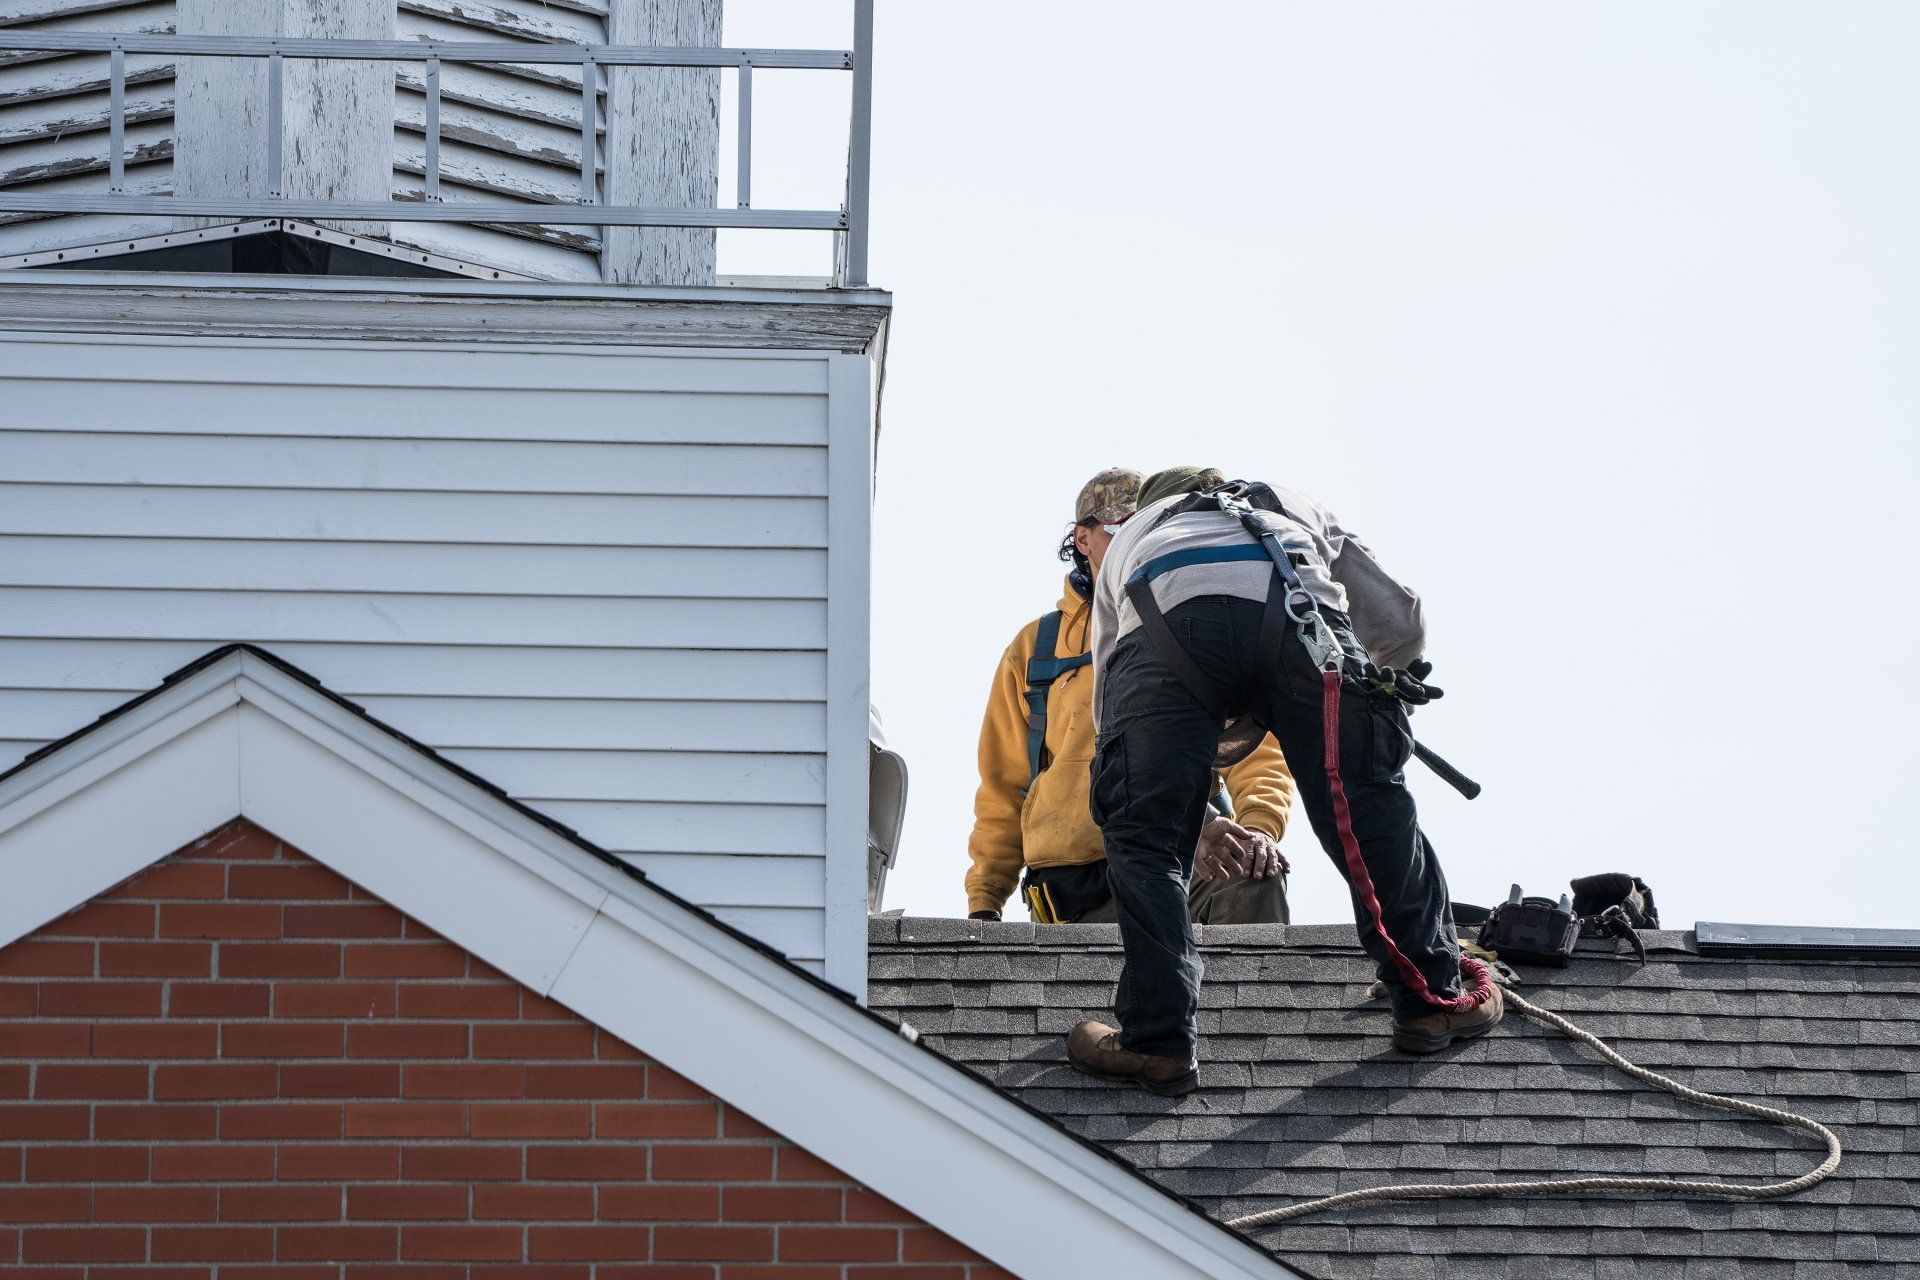
9. Finishing Touches
For the final step, a thorough inspection of the work is essential. We remove all debris from the roof and make sure to nail down any nails that are still exposed on the surface. Finally, we make sure to remove all debris from the work on your property before leaving the premises.
Whether you are ready for your roof installation or have any other questions, reach out to our team! We'll be more than happy to help you in any way we can.

Address
Saint-Lin-des-Laurentides
Phone
OPENING hours
Monday - Saturday
6 am - 8 pm
For emergencies
Call us
SERVICE AREAS